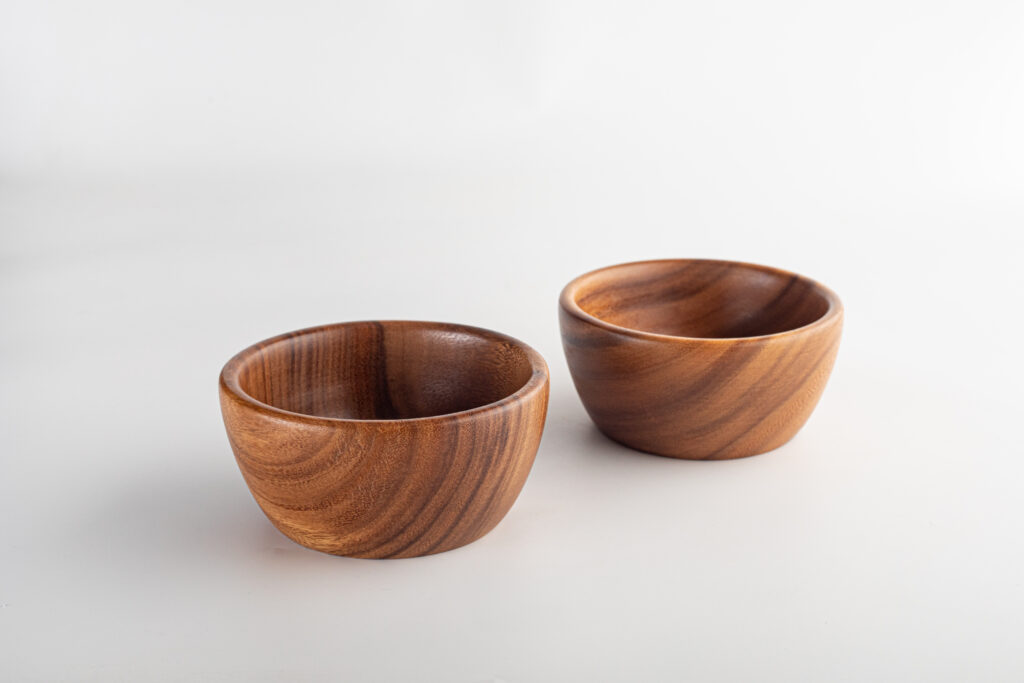
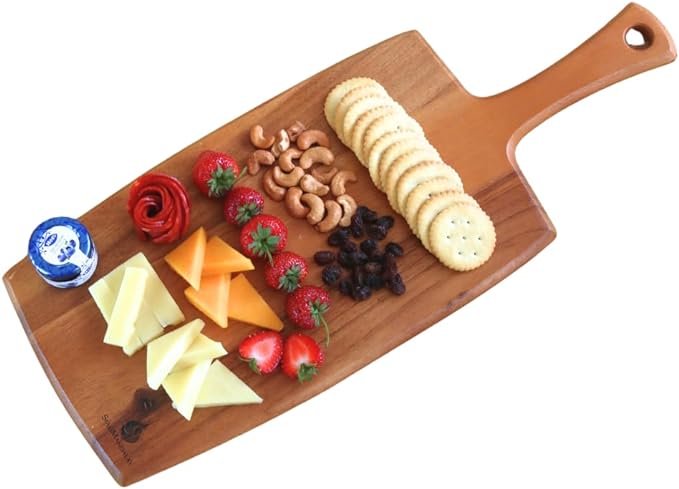
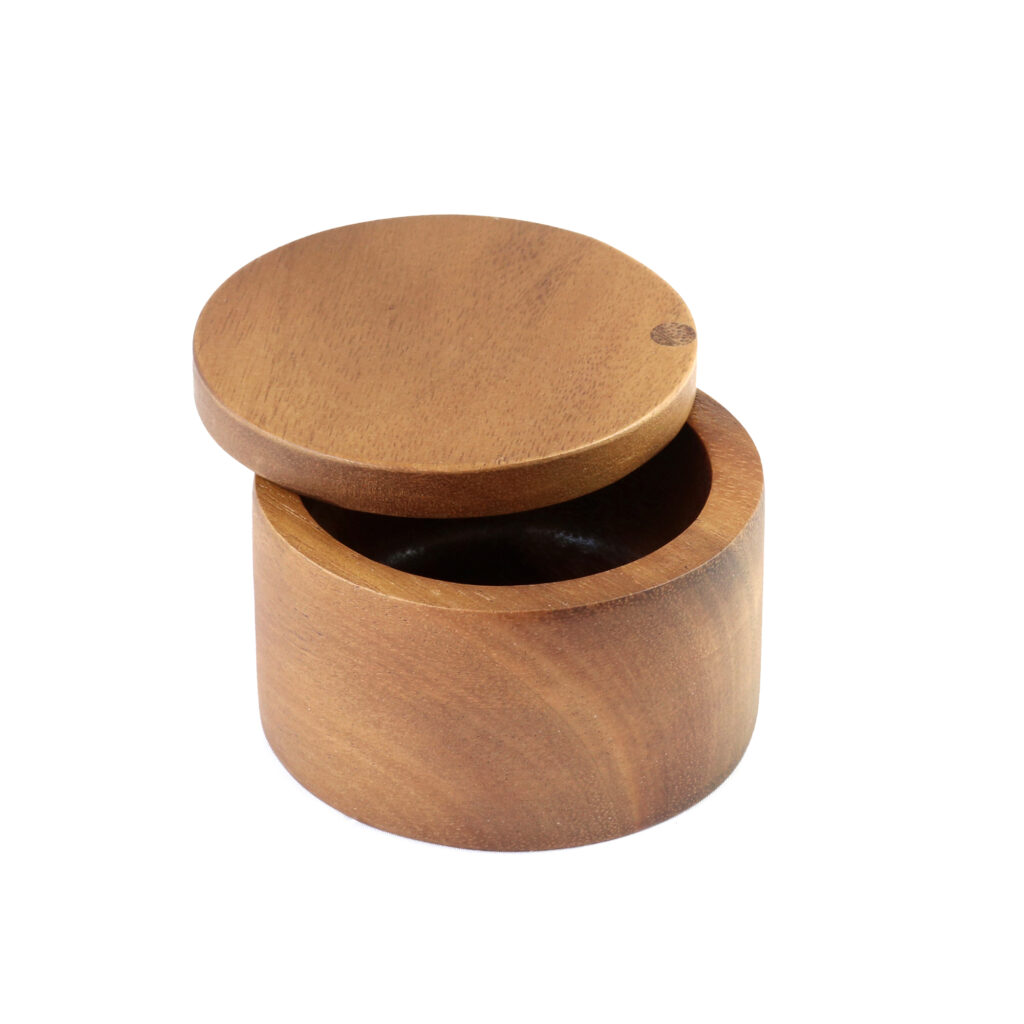
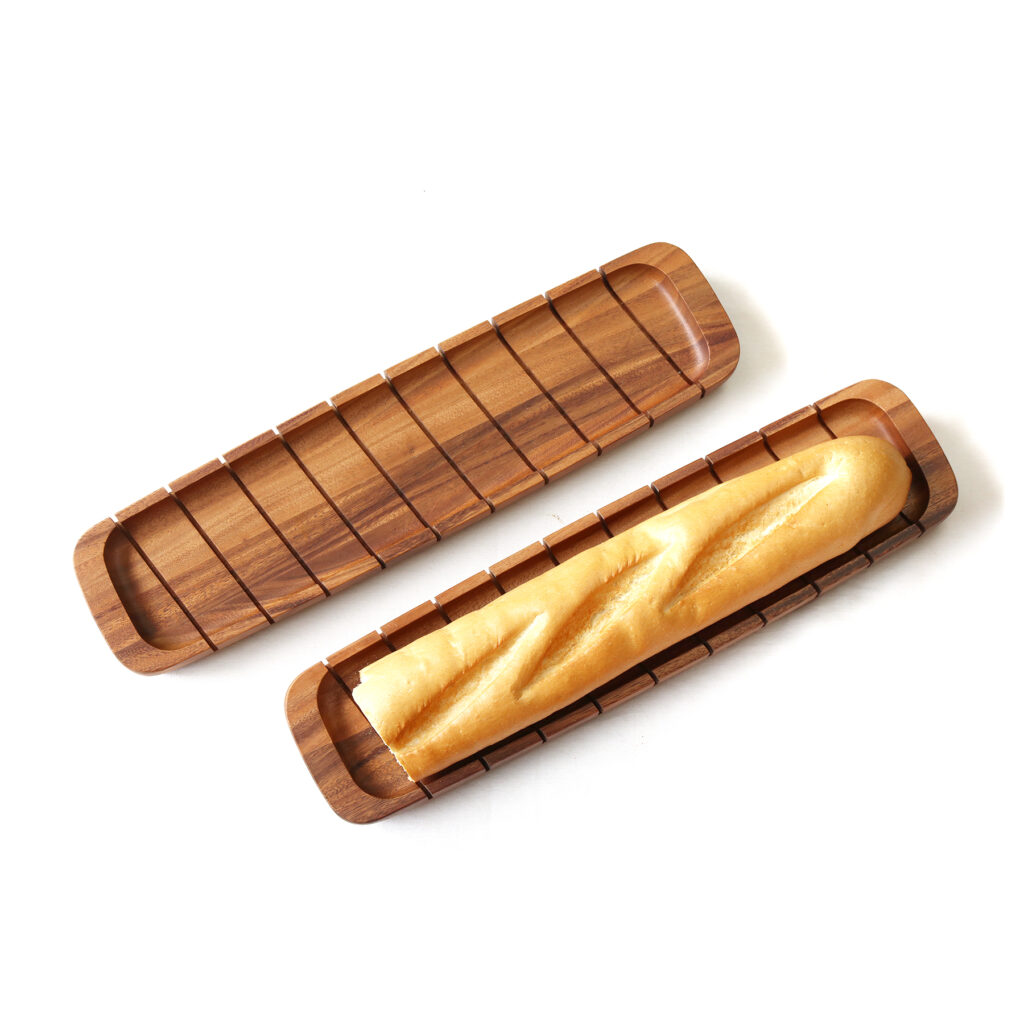
In previous blogs we have discussed a few of the many benefits that come from using wooden kitchenware, as well as how it is far superior to metal or plastic. We have also covered some of the best ways to go about cleaning and caring for your wooden utensils and cookware; where we offered a few quick tips and tricks to make cleaning your wooden kitchenware even easier. We even outlined the facts for how to choose the best wood for your wooden kitchenware. Now with all this information under your belt, it seems fitting to highlight a few kitchen hacks using wooden kitchenware that will help make your life so much easier.
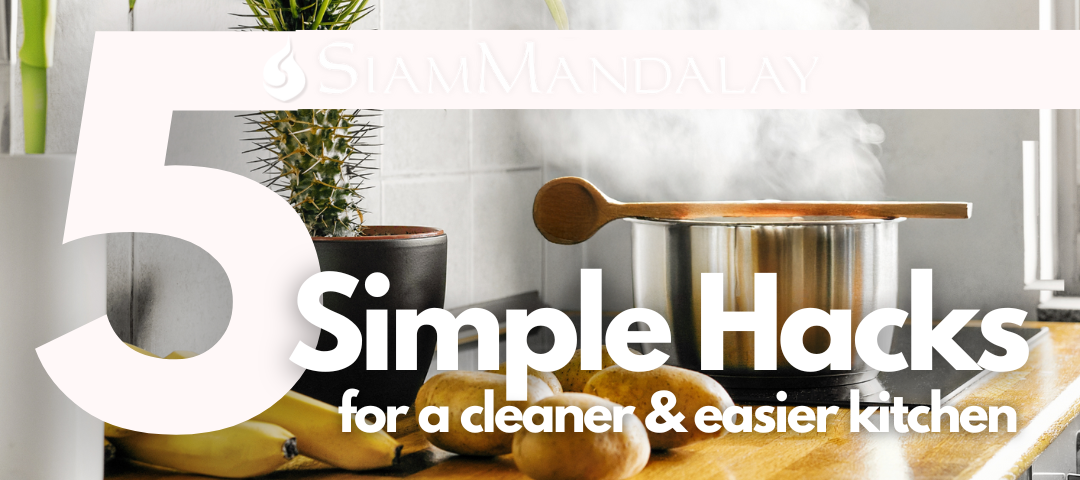
5 Easy Kitchen Hacks You Can Do at Home
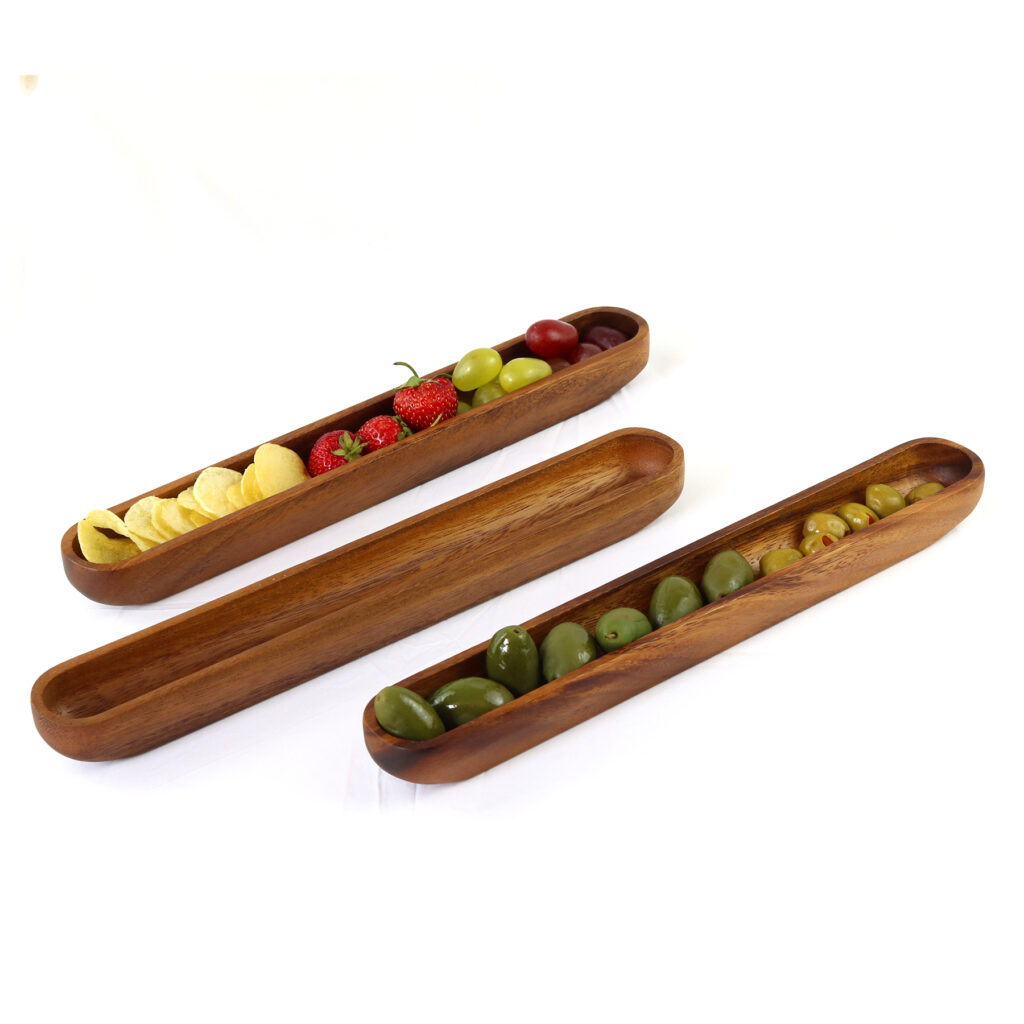
These are all hacks that can be done either with your wooden kitchenware, or for your wooden kitchenware, making your life in the kitchen that much easier. Included are hacks that aid in your cooking, kitchen organization, and some will even help to preserve some of your other cookware. These lesser-known kitchen hacks will have you using your wooden kitchenware like a pro, and getting the absolute most out of every item.
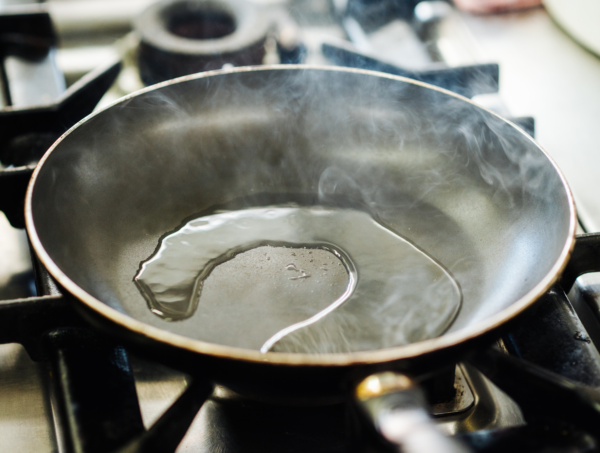
1. A wooden spoon placed across the top of a pot prevents the water from boiling over.
This first one is one of the more well-known kitchen hacks around. You’ve likely already heard about this one, that simply placing a wooden spoon (or any other long wood utensil) over your pot of boiling water will prevent the water from boiling over and making a mess. But in case you had not yet heard of this timeless trick previously, give it a try the next time you are boiling water for your rice or pasta and see for yourself. It is especially convenient for parents, busy cooks, and homeowners who have multiple things going on at once, and don’t always have the time to spend staring at the stove making sure the water doesn’t boil over.
This kitchen hack works because when a wooden spoon is laid across the diameter of a boiling pot of water, it pops all of the bubbles that are rising from the middle of the pot. The middle of the pot is often the hottest as it is slightly closer to the heat source than the edges. The spoon is able to pop the bubbles thanks to its material; wood has lots of small fibers that are excellent at bursting bubbles as they reach the spoon. What’s more, wood is a very poor heat conductor which not only aids in popping the bubbles, but also serves to keep the middle air over the pot colder than the rest of the water’s surface.
Quickly popped bubbles in conjunction with the decrease in temperature makes room for the other heat bubbles along the outer ring of the pot to move inwards, before rising again only to be popped by the wooden spoon again. This cycle repeats itself, boiling up the water in the middle for the bubbles to be burst by the spoon, followed by other bubbles from around the edges taking their place. This cycle is able to consistently keep up with the water as it boils, however do exercise caution when using this hack though. It works well, but at some extreme temperatures, or if the pot is filled too high with water, this trick may not be able to keep up with the boiling.
Our second kitchen hack is another one that takes advantage of the unique properties of wood. Using wooden spoons and spatulas with your non-stick cookware is particularly effective because of the softness of wood in comparison to metals. This is another rather common trick, but it is definitely necessary if you find yourself going through non-stick pots and pans quicker than normal. Wood is naturally softer than the non-stick coatings that are used in pans today, unlike metals which are generally harder, and capable of scratching or damaging this coating. Since the wood is softer, it is physically unable to scratch the coating, which aids in preventing the release of even more chemicals when heated.
You might also wonder whether other soft materials like plastic or silicone will scratch your non-stick cookware too, and the simple answer to that question is no. Plastic and silicone would be effective kitchen materials to use in order to avoid scratches on your pots and pans, however other issues may arise from using these materials. Wood is often preferred as it tends to be more capable of handling extremely high temperatures – even hotter than plastic or silicone. Many people have experienced first-hand what happens when using cheap plastic or silicone utensils over high heats. Rubber, silicone, and plastic equipment can melt upon coming into contact with hot pots and pans, not only ruining your utensils, but also your meal. For these reasons, wood offers the absolute best tools for cooking at high temperatures with non-stick cookware. What’s more, thanks to wood’s low conductivity of heat, you won’t have to worry about burning your hand on the utensil either!
3. Prop your oven open with wood while broiling.
This next hack for your kitchen is a bit more in line with the first in that it is not necessarily using your wooden utensils for their specific intended purpose. This time, we propose using a wood utensil or tool to vent your oven while broiling, or for any other kind of cooking that requires your oven to be propped open. Venting your oven gives the heat somewhere to escape, which can be especially important when broiling.
Broiling involves heating your oven and food, but only from the top. If you leave your oven closed while broiling, it creates a closed environment where there is nowhere for the excess heat to travel. Thus, further heating the entirety of the inside of the oven, cooking all sides of the dish. This is okay under normal oven-use circumstances, but in certain instances it is necessary to only heat a single side of a dish with direct heat from above. Whether it’s for melting the cheese on top of a flatbread or creating the perfect crust on your ribeye, propping open your oven will allow some heat to escape through the top, assisting in creating the perfect environment for your food to broil. We recommend using a wood spoon or utensil to prop open your oven, as they are able to withstand considerable heat, without conducting it. Meaning it can get the job done without causing damage or melting your oven’s gaskets.
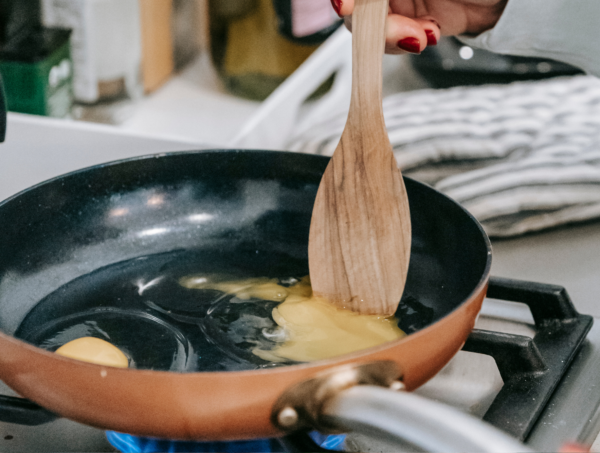
4. Your wood kitchenware can help you know when your oil is hot enough to begin frying.
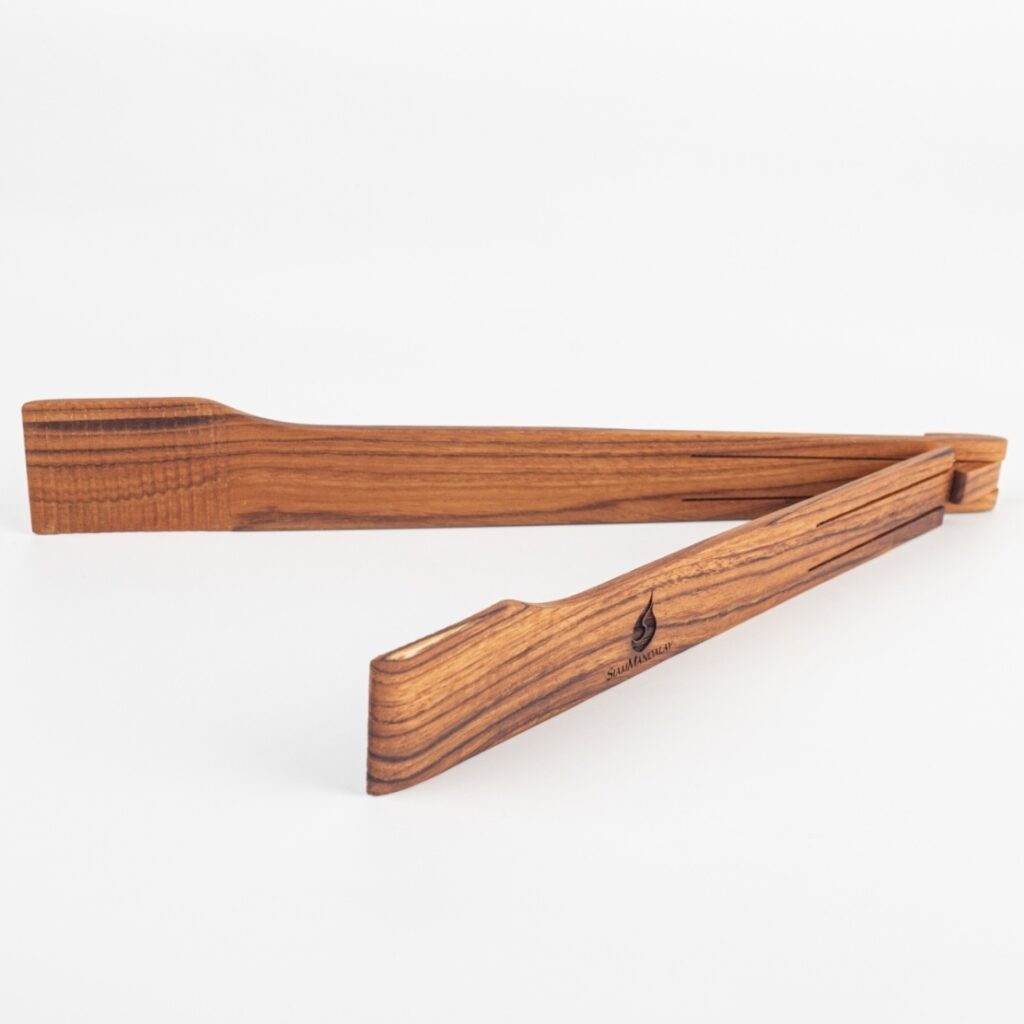
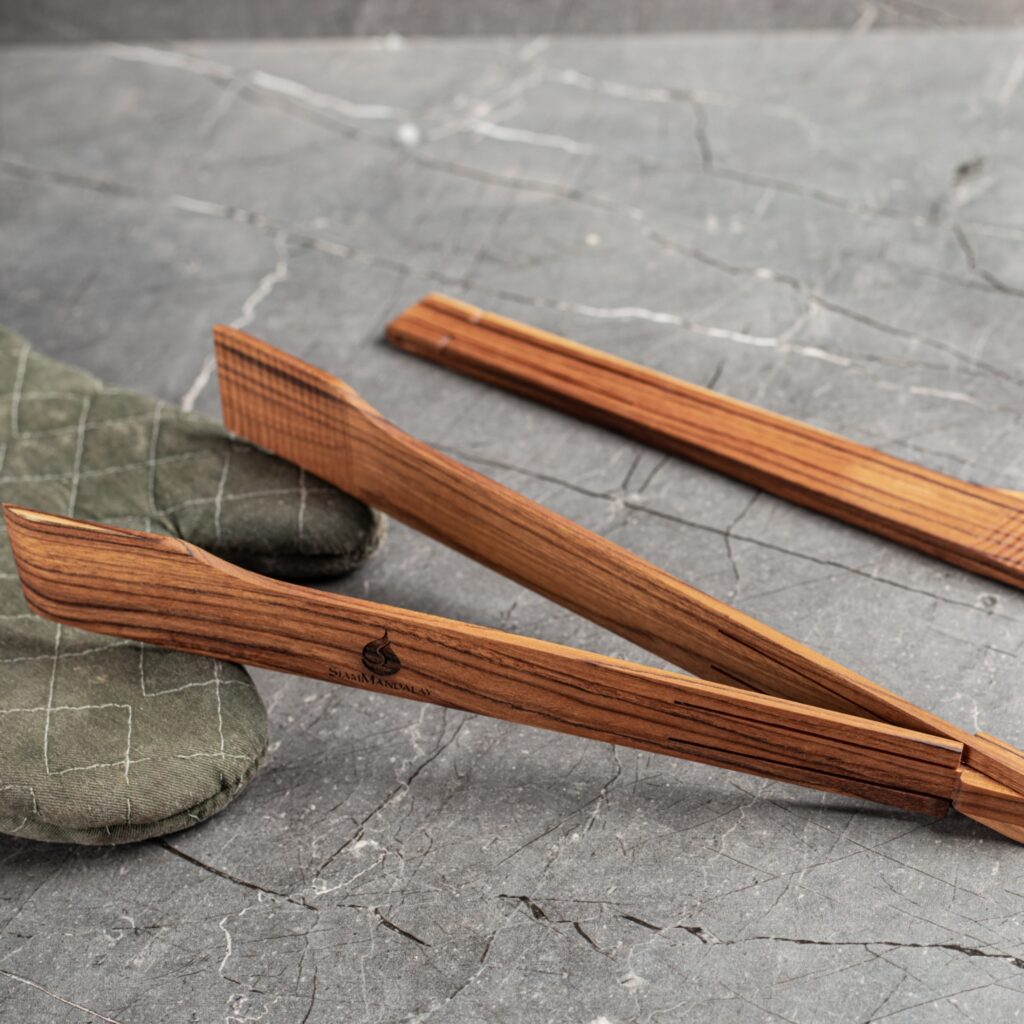
The fourth kitchen hack involves another innovative use of your wooden spoon; and it is a method for testing the temperature of oil while preheating it for frying. Like many other of these hacks, it’s the material that’s most important, so whether you use a wood spoon, spatula, salad tongs, or even chopsticks for this one, you should get the same results. If you are trying to bring oil up to frying temperature, it can be difficult to know when it’s ready without a thermometer. Even with a thermometer it may be troublesome to get an accurate reading if there is not much oil in the pan. Thankfully, you have your handy wooden spoon!
Simply take the handle of your wooden spoon (or any other slender piece of wood) and dip it into your hot cooking oil. Oil that is up to temperature and ready to fry with will begin producing small bubbles that congregate around the handle of the spoon before rising to the top. If you dip your wooden spoon in and there is no bubbling whatsoever, or if it’s very subtle, then your oil is not ready yet and still needs time to heat. However, if you encounter larger bubbles, and the oil begins popping a bit, then your oil is too hot, and you may want to let it cool before proceeding to fry your food.
For this method, it is very important to ensure that whatever piece of wood you use is perfectly dry. Introducing water to oil at very high temperatures can cause significant bubbling, popping, and spraying. Spraying oil and water at such high temperatures can be extremely dangerous for anyone in the kitchen, so avoiding this is crucial.
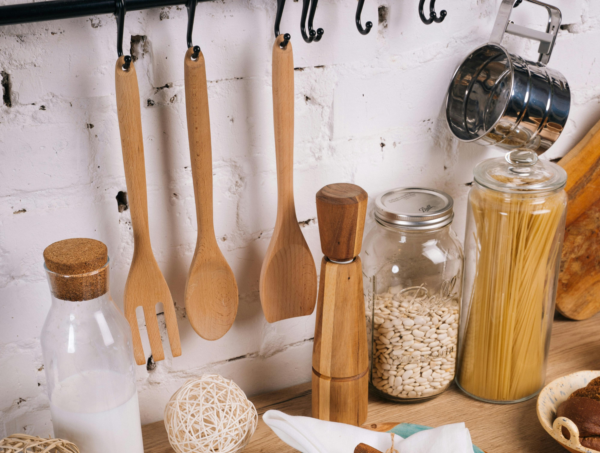
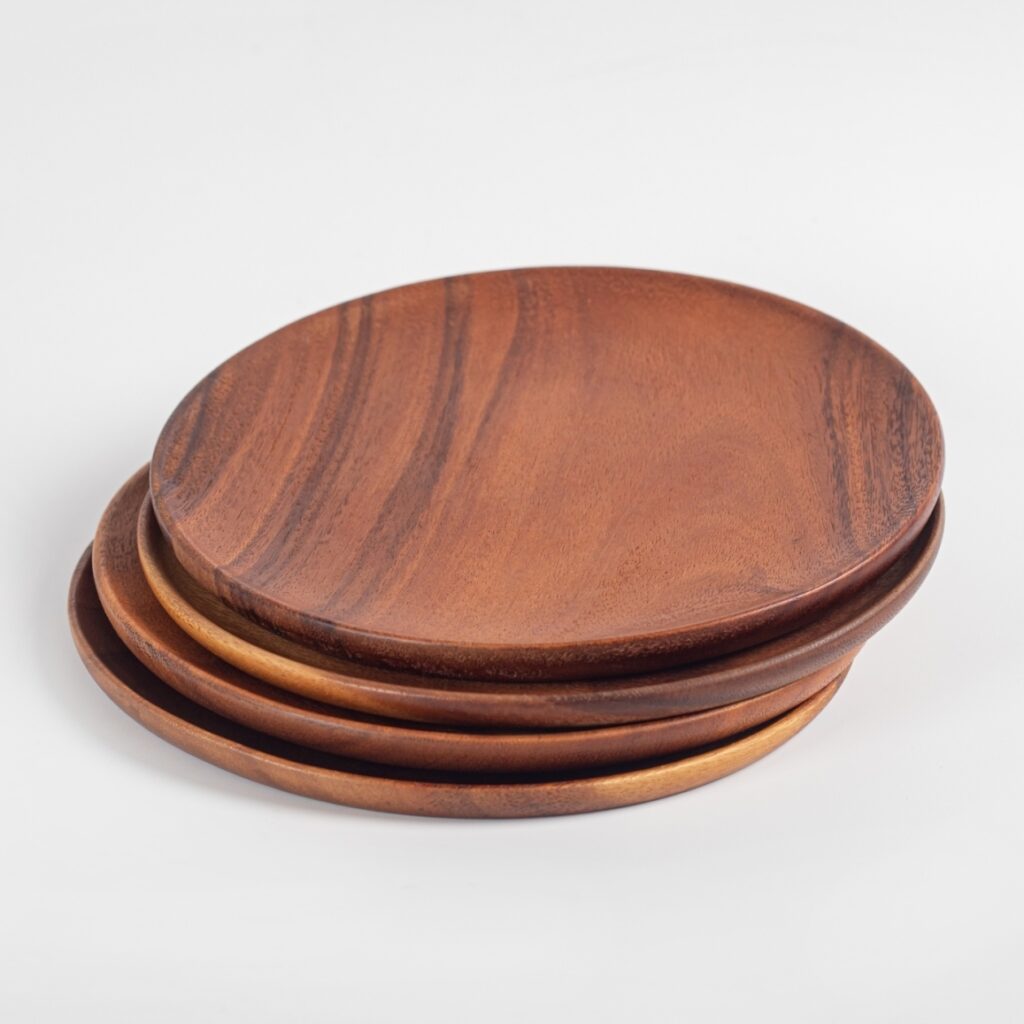
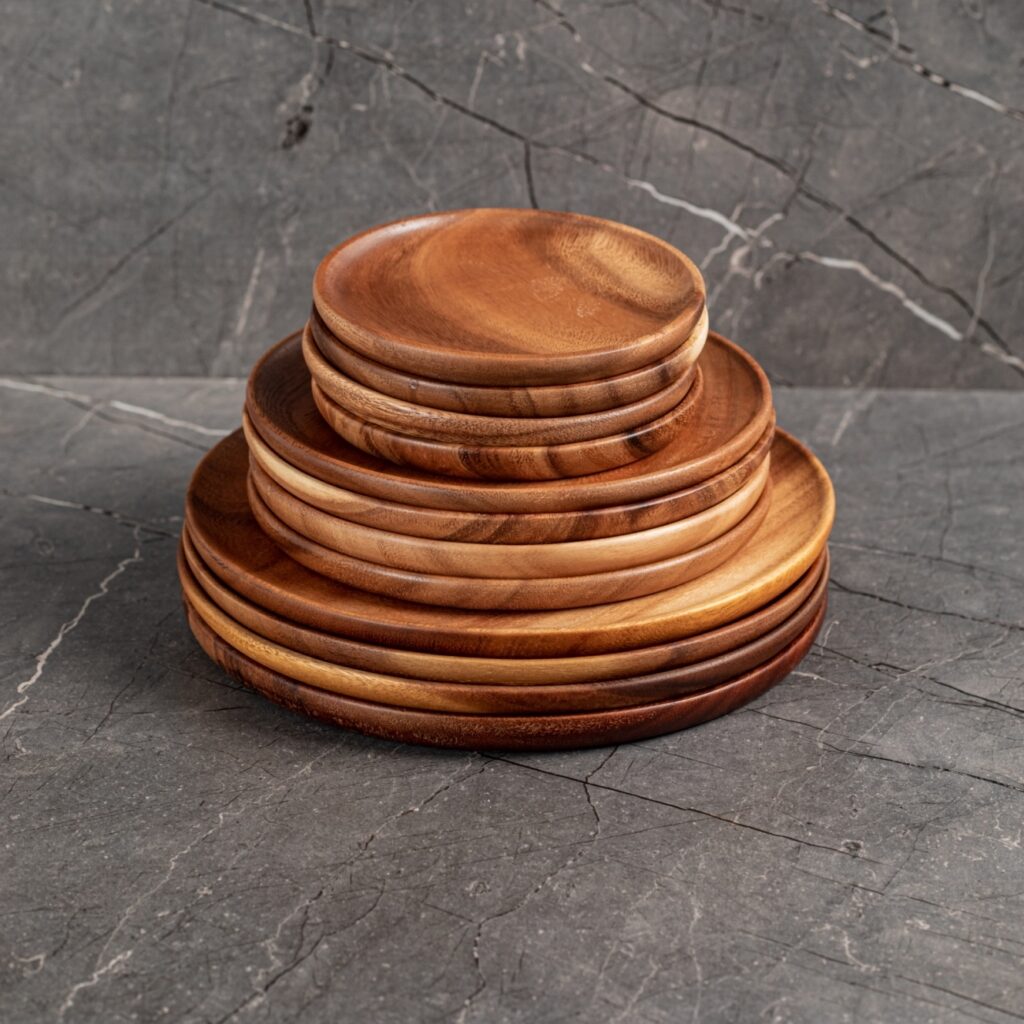
5. Storing your wood kitchenware out in the open will help ensure that it’s dry.
Our final kitchen hack will actually help you with the previous one as well! By ensuring a lack of moisture in your wood kitchenware, you can be certain it will always be ready to go, and for other applications as well. This last recommendation involves modifying your kitchen such that you have some way to store your wood equipment/tools out in the open air, rather than behind cabinets and in drawers. We most recommend installing a kitchen rack for storage on your wall, allowing your wood utensils and cutting boards to hang as they dry.
Ensuring that your wood kitchenware dries completely after washing is crucial to the longevity and health of the wood. When moisture gets trapped in the pores of your wood, it can begin to foster bacteria and even grow mold. This is why air drying your wood utensils is so important, and by installing a storage rack in your kitchen, you can be sure that all of your wooden kitchenware has plenty of time to dry, without having to worry whether it’s ready to be put away.
If a rack on the wall or over the sink is too involved for you, don’t worry! There are plenty of other easy solutions that can do a similar job allowing your wood kitchenware to air out easily. One of the most common and easiest solutions is a large, open-topped metal or ceramic storage container that sits out on your counter tops. Filling this container up with wooden spoons, spatulas, and tongs will keep them organized, while also allowing them extra time to air dry. Not only will your wood always be dry and ready to go, but they will be out and available, handy whenever you need it.
We use cookies on our website to give you the most relevant experience by remembering your preferences and repeat visits. By clicking “Accept All”, you consent to the use of ALL the cookies. However, you may visit "Cookie Settings" to provide a controlled consent.
This website uses cookies to improve your experience while you navigate through the website. Out of these, the cookies that are categorized as necessary are stored on your browser as they are essential for the working of basic functionalities of the website. We also use third-party cookies that help us analyze and understand how you use this website. These cookies will be stored in your browser only with your consent. You also have the option to opt-out of these cookies. But opting out of some of these cookies may affect your browsing experience.
Necessary cookies are absolutely essential for the website to function properly. These cookies ensure basic functionalities and security features of the website, anonymously.
Cookie
Duration
Description
cookielawinfo-checkbox-analytics
11 months
This cookie is set by GDPR Cookie Consent plugin. The cookie is used to store the user consent for the cookies in the category "Analytics".
cookielawinfo-checkbox-functional
11 months
The cookie is set by GDPR cookie consent to record the user consent for the cookies in the category "Functional".
cookielawinfo-checkbox-necessary
11 months
This cookie is set by GDPR Cookie Consent plugin. The cookies is used to store the user consent for the cookies in the category "Necessary".
cookielawinfo-checkbox-others
11 months
This cookie is set by GDPR Cookie Consent plugin. The cookie is used to store the user consent for the cookies in the category "Other.
cookielawinfo-checkbox-performance
11 months
This cookie is set by GDPR Cookie Consent plugin. The cookie is used to store the user consent for the cookies in the category "Performance".
viewed_cookie_policy
11 months
The cookie is set by the GDPR Cookie Consent plugin and is used to store whether or not user has consented to the use of cookies. It does not store any personal data.
Functional cookies help to perform certain functionalities like sharing the content of the website on social media platforms, collect feedbacks, and other third-party features.
Performance cookies are used to understand and analyze the key performance indexes of the website which helps in delivering a better user experience for the visitors.
Analytical cookies are used to understand how visitors interact with the website. These cookies help provide information on metrics the number of visitors, bounce rate, traffic source, etc.
Advertisement cookies are used to provide visitors with relevant ads and marketing campaigns. These cookies track visitors across websites and collect information to provide customized ads.